This tutorial focuses on making a wired remote control circuit for a differential drive robot. This remote can control DC motors with maximum load current of 7A DC. However the current rating can be increased by changing the relays with higher rating.
You can see the remote in action in the video below:
Components required:
- Relays:
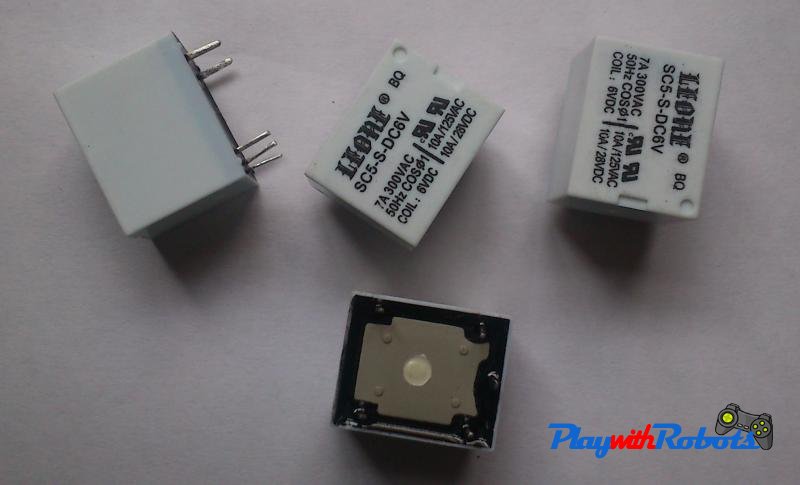
Relays
To know about how to use relays, go through this short tutorial on controlling relays.
- Push buttons:
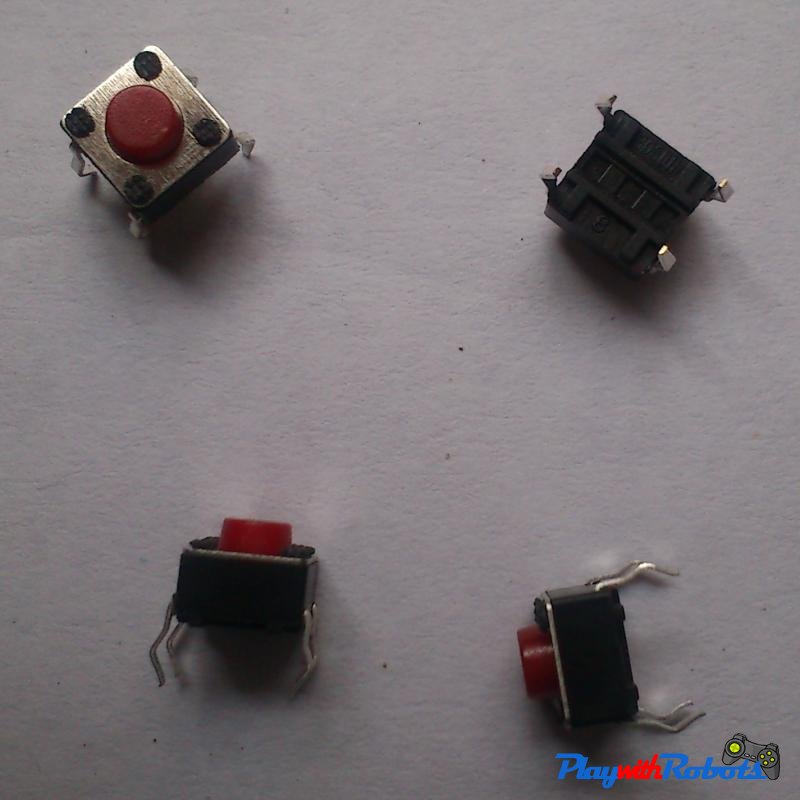
Push buttons
They have four terminals, two pair of terminals are shorted and when button is pressed all four terminals become shorted.
- General purpose board (GPB):
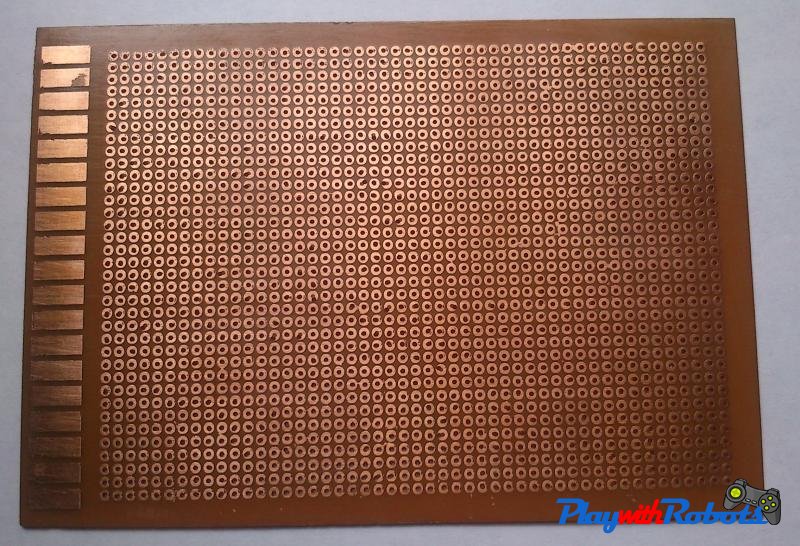
General purpose board
On this board we will solder the remote circuit.
- Eight Diodes, one 9V battery and its battery cap and one 4-pin and 2-pin connector each.
Circuit diagram :
![Circuit diagram [TOP VIEW]](/images/old/relay-remote.png)
Circuit diagram [TOP VIEW]
Working of circuit:
The logic of above circuit is that when no button is pressed all the four relays are inactive therefore potential difference across motor is zero volts. As soon as any one button is pressed it triggers two relays and depending on the relay triggered the motors will rotate in CW or ACW direction. For example Button B2 activates coil C1 and C4 of relays. which make potential difference -12V across M1 and 12V across M2 and thus making an in-place rotation.
Now let us solder the circuit. It would be better to solder a male 4-pin connector on GPB and connect motors to GPB via this 4-pin connector. This will make the circuit easier to attach/detach from the robot. Similarly a 2-pin connector for connecting 12V battery.
See the picture of the complete circuit soldered:
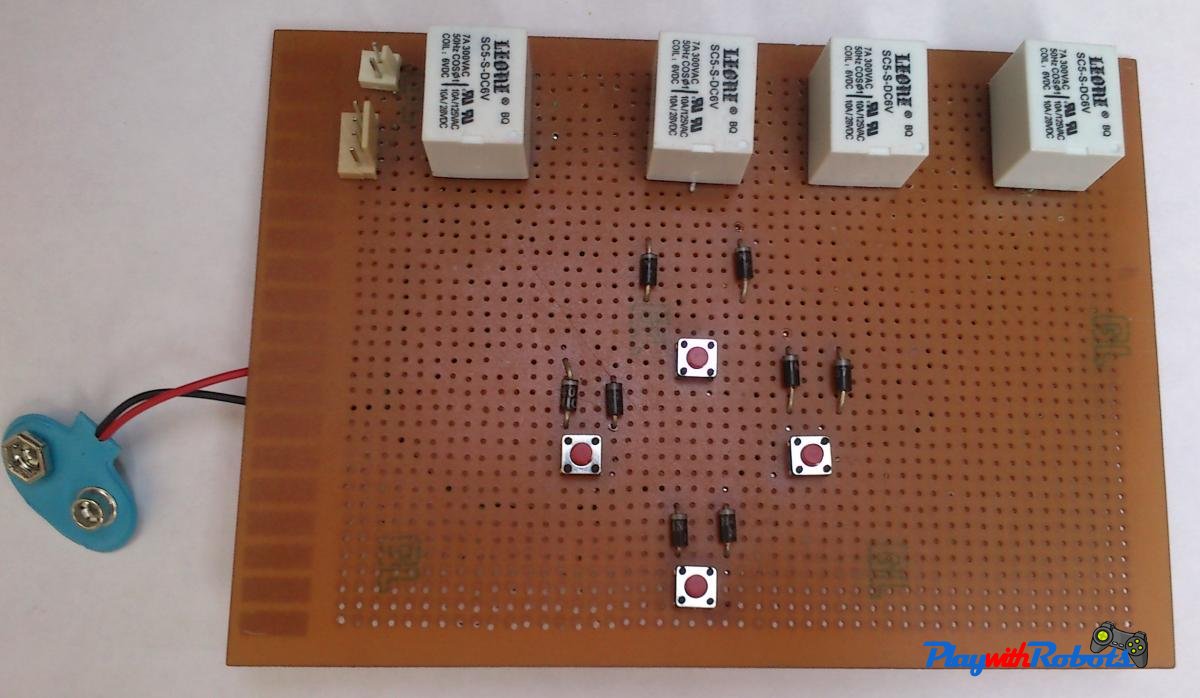
Complete soldered circuit
To connect this circuit with the bot use ribbon wires. The choice of wire depends on your motor current requirement.

Ribbon wire
Connect 4-pin female and 2-pin female connector with one end of ribbon wire. See the picture below.
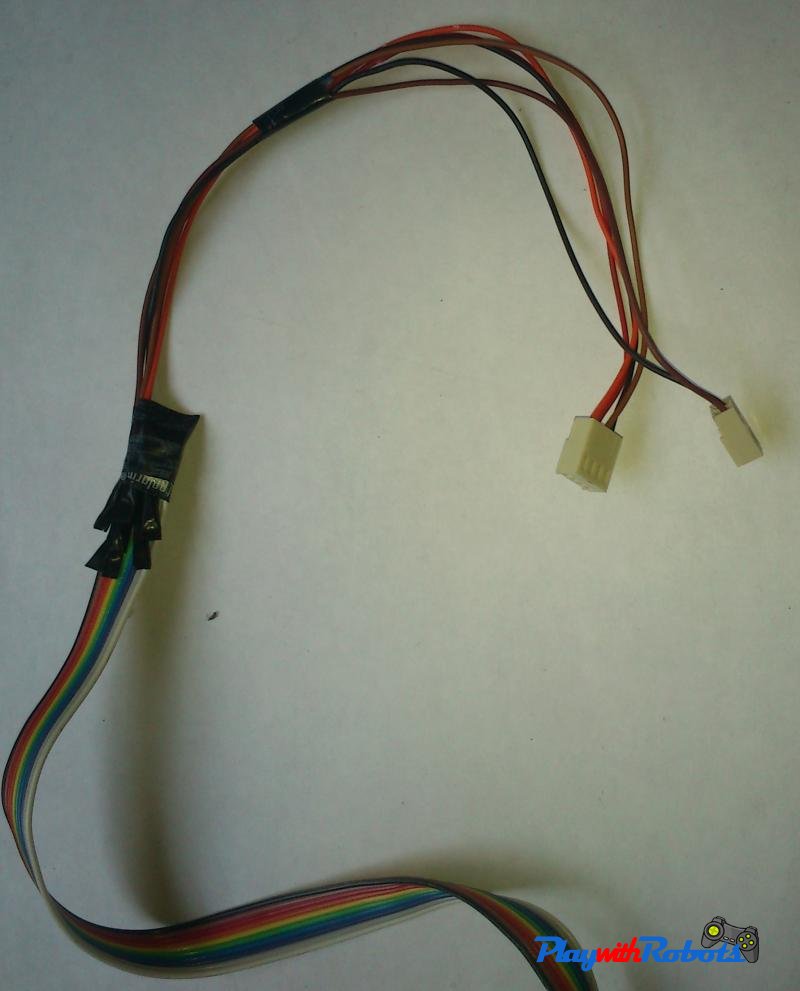
End Connection of ribbon wire
Now connect the robot with other end of ribbon wire. If the motors are not moving in desired direction try changing the polarity of motor. To make the robot seen in video below go to manual controlled robot tutorial.
Watch the robot is action!.
Hope you liked the above tutorial. Subscribe to PlaywithRobots on facebook for more updates.
More on PlaywithRobots
avr-tutorials
- Introduction to AVR microcontrollers
- Basic hardware and software required for AVR
- AVR fuse bits
- Input/Output Concept